Ingredients
For the Chocolate Cookie Crust:
- (1) regular full-size package Oreo cookies, crushed into fine crumbs
- 8 tablespoons unsalted butter, melted
- 1/2 teaspoon espresso powder
For the Espresso Cheesecake Filling:
- 14 ounces bittersweet chocolate, coarsely chopped
- 1 and 1/2 teaspoons espresso powder
- 1 and 1/2 pounds (680g/24 ounces) full-fat cream cheese, at room temperature
- 1 cup (198g/7 ounces) granulated sugar
- 1/4 cup (53g/1 and 7/8 ounces) light brown sugar, packed
- 1 Tablespoons Dutch-process cocoa powder
- 1 and 1/2 teaspoons vanilla extract
- 1 cup (8 ounces) heavy cream, at room temperature
For the Espresso Ganache:
- 1 and 1/3 cups (226g/8 ounces) semi-sweet chocolate, finely chopped
- 1 and 1/4 cups (12 ounces) heavy cream
- 1/4 cup (57g/2 ounces) unsalted butter, at room temperature, cut into cubes
- 1 teaspoon espresso powder
- Espresso beans, for garnish, optional
- Chocolate shavings, for garnish, optional

Instructions
For the Chocolate Cookie Crust:
- Lightly grease the bottom and sides of a 9-inch springform pan.
- In a large bowl combine the Oreo cookie crumbs, melted butter, and espresso powder; mix well to combine.
- Press the crust into the prepared pan, pressing it firmly down in the middle and slightly up the sides. Place crust in the freezer while you prepare the filling.
For the Espresso Cheesecake Filling:
- Fill a medium pot one-third full with water and bring it to a low simmer over medium heat.
- Place a heatproof bowl that will fit on top of the pan snugly, but will not touch the simmering water, on top of the pan. Reduce the heat to low and add the chopped chocolate into the bowl over the pot. Heat until the chocolate is completely melted, stirring occasionally with a silicon spatula. Remove the pot from the heat, leaving the bowl of chocolate over the hot water. Stir in the espresso powder. Set aside until needed.
- In the bowl of a food processor (or high-powered blender), pulse the cream cheese until completely smooth, scraping down the sides of the bowl as needed, about 2 minutes. Add in both sugars and cocoa powder and beat smooth. Add in the vanilla and heavy cream and mix until just combined, about 20 seconds. Fold in the chocolate until evenly combined.
- Remove the bowl from the food processor and, using a rubber spatula, stir the filling several times to ensure it’s evenly blended.
- Remove the crust form the freezer.
- Scrape the filling over the crust and smooth the top.
- Transfer the cheesecake to the refrigerator to chill for at least 6 hours.
For the Espresso Chocolate Ganache:
- Add chopped chocolate to a medium bowl; set aside.
- In a small saucepan over medium-heat, bring the cream to a low simmer. Pour half of the cream on top of the chocolate pieces and set aside for 2 minutes. With a whisk, begin to incorporate the melted chocolate into the cream. Slowly add the remaining cream and continue carefully whisking until smooth and glossy.
- Add in the butter and use a spatula to stir until the butter is completely melted. Fold in the espresso powder. The mixture will be dark and glossy.
- Place a 1/2 cup of the ganache in a small bowl, and set it aside until needed.
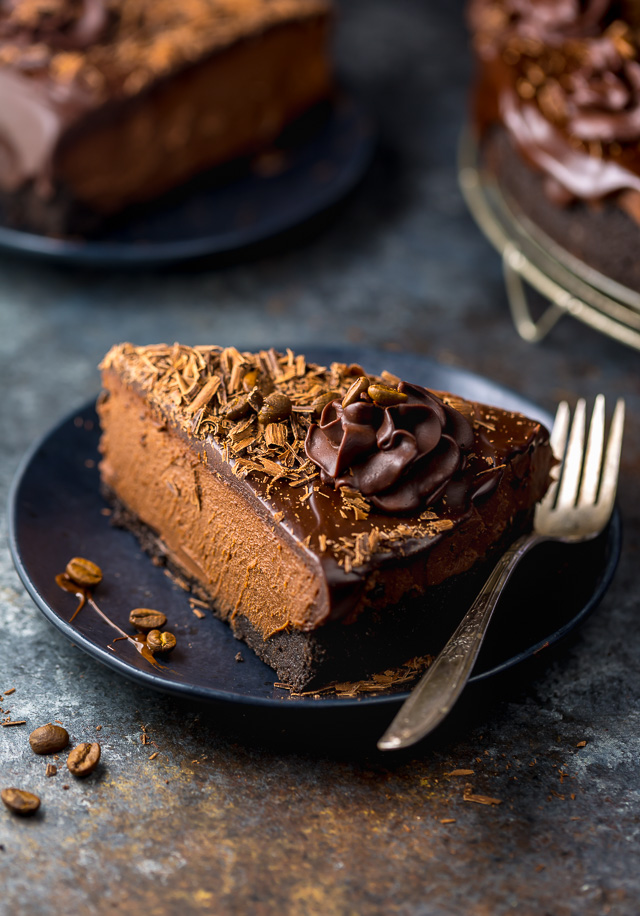
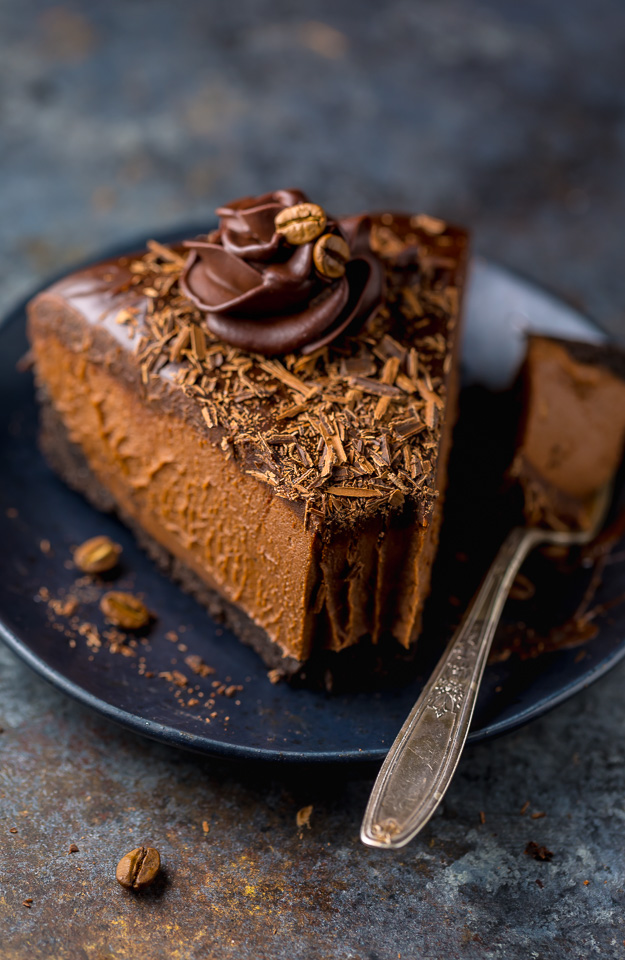
- Pour remaining ganache over the chilled cheesecake. Sprinkle with chocolate shavings, if using. Set aside until ganache is set, about 1 hour.
- Scrape reserved ganache into a piping bag fitted with a star tip. Pipe ganache stars around the edge of the cheesecake and top each star with a few espresso beans (this is all optional).
- To serve, slice the cheesecake with a thin-bladed sharp knife, wiping the knife clean between each cut.
- Store, loosely covered, in the refrigerator, for up to 4 days.
all recipes adapted by bakerbynature.com


0 Comments